Author: JIm Leggitt
How to Transform SketchUp models into Digital Hybrid Watercolor Renderings
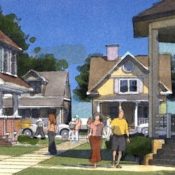
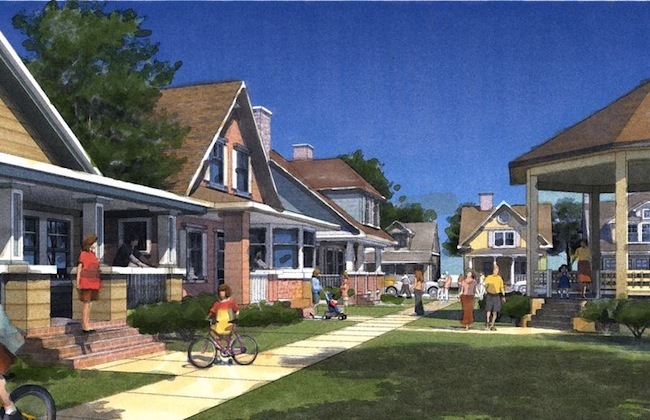
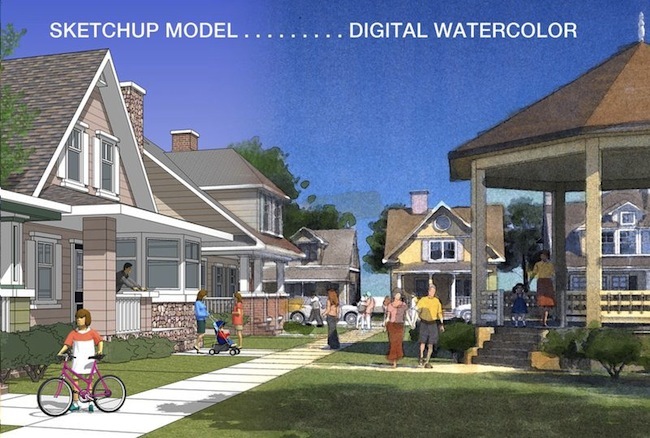
In 2011, I developed the Digital SketchUp Watercolor – an amazing hybrid visualization technique for transforming a Google SketchUp model view into a digital watercolor. The idea involves a combination of digital image manipulation and traditional hand coloring with markers.
For anyone who enjoys modeling in SketchUp, this process enables you to create beautiful renderings that have a “hand crafted” character resembling an actual watercolor painting. My “step-by-step” explanation below will show you the process and just how easy it is to do!
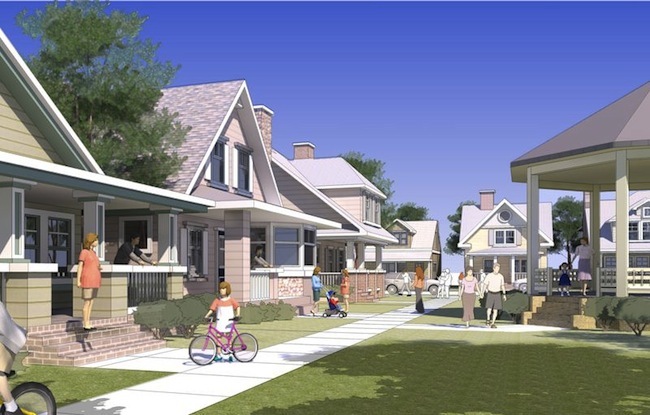
Step 1: Google SketchUp Model
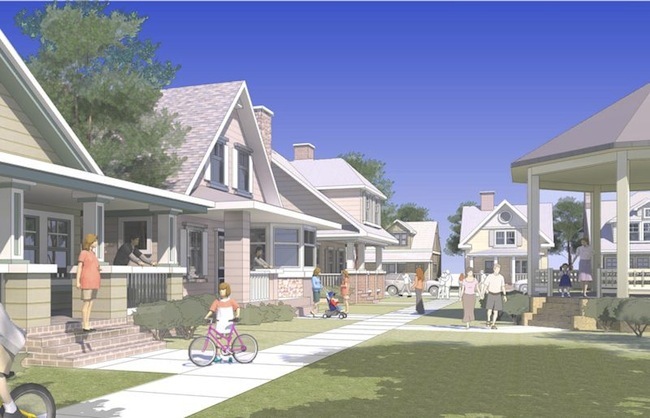
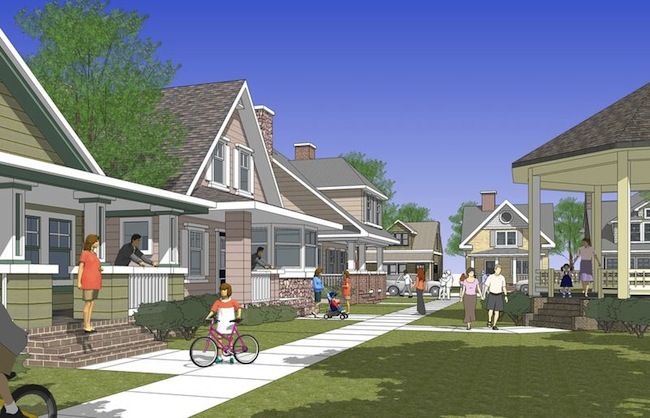 I assembled this scene from a set of houses downloaded from 3D Warehouse and populated the model with 2D and 3D people and landscape components. I adjusted the sun intensity and direction to create the foreground tree shadows and depth of the porches. Can you spot my modeling error? The woman in orange is accidentally floating above the steps!
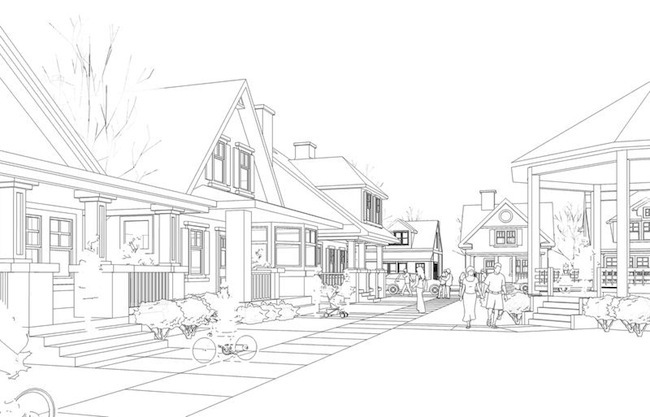
Step 2: Export SketchUp Edges
I exported a high resolution (5,000 pixels wide) jpeg of just the model edges that would later be added back into the image. I resized the jpeg and all other images to 300dpi by 16 inches wide.
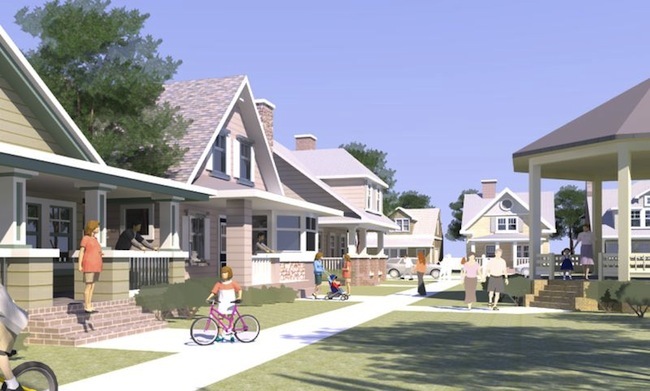
Step 3: Photorealistic Rendering
This step involved rendering the SketchUp model using a third party photorealistic rendering software program. I prefer using an Integrated Rendering Program (IRP) such as Shaderlight or SU Podium – both serving as plugins directly within the SketchUp software. After assigning reflective characteristics to the window faces, I rendered the model and saved a jpeg which I resized 300dpi by 16 inches wide. Notice that the sky was quite pale in color and the foreground lines in the sidewalk had disappeared. Adding back the linework and dark sky was an important step towards creating the final watercolor effect.
Step 4: Photoshop Composite
I opened the rendered scene in Adobe Photoshop and spliced in the darker sky from a separate jpeg I exported from the original SketchUp model. I also spliced in the foreground grass and tree shadows from that same jpeg. I added the SketchUp edges (lines only) jpeg as a new layer and positioned it on the top layer with a 75% transparency in order to give the linework a very light appearance similar to the faint pencil markings in an actual watercolor painting. This composite image now had the important linework in the sidewalk and architecture as well as photorealistic rendered reflections in the window glass.
Step 5: Lighten Image and Print
To prepare the image for the colored marker step, I lightened the scene, giving it a 75% transparency in Photoshop. Still wanting the deep blue sky, I spliced in a copy of the sky and cut it around the rest of the image. The final lightened image was printed in color on 11”x17” Epson coated bond paper using my Epson workforce 1100 ink jet printer.
Step 6: Colored Markers
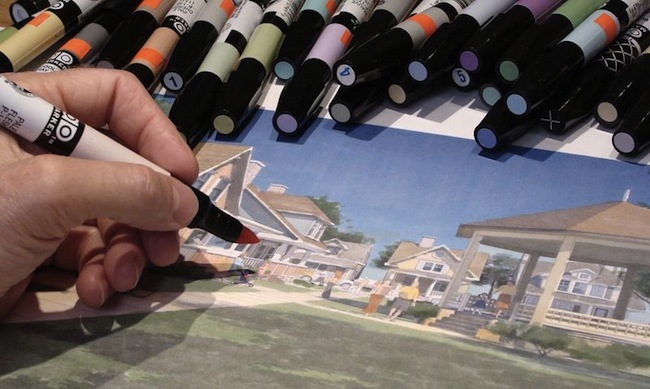
Picking the lightest colors from my Chartpak Ad Marker Set, I colored the entire page leaving only the white trim on the houses untouched. I purposely let the marker run over line edges and “blob” in order to give an imperfect painted quality to the image. I dabbed several green marker colors on the trees to simulate leaves. Darker cool gray markers added contrast to the shadows and roof overhangs. Note: the informal “don’t color within the lines” marker effort was key to giving the final watercolor step the appearance of an actual painted surface.
Step 7: Photoshop Watercolor Filter
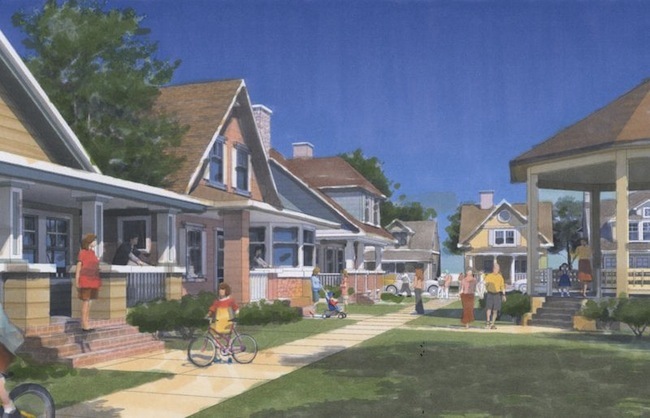
I scanned the colored print at 300dpi and opened the jpeg in Adobe Photoshop. Using the filter/artistic/watercolor tool, I modified the image and transformed it into the digital watercolor. My settings were: Brush Detail 14, Shadow Intensity 0 and Texture 1.
RELATED STORY: How to Transform Basic Sketchup Models into Beautiful Digital Renderings
Step 8: Adjust Levels in Photoshop
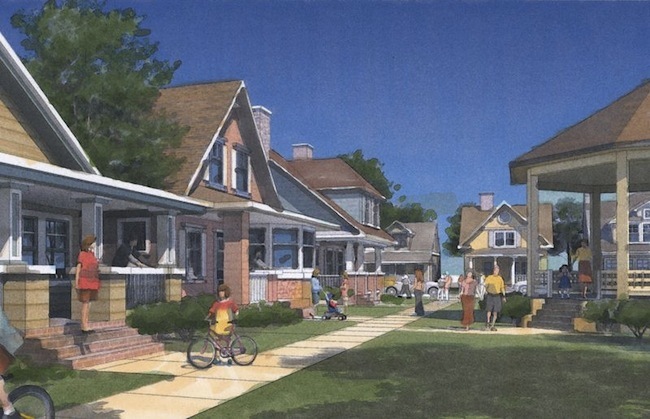
The colored marker and watercolor versions were each quite dull with little contrast. The final version needed one more adjustment which I made in Photoshop by amodifying the contrast levels. The increased contrast greatly improved the image and the end result was an impressive digital watercolor created from a Google SketchUp model. Try making a Digital SketchUp Watercolor yourself and email me a jpeg of your project!
This post was originally spotted on Jim Leggit’s blog, Drawing Shortcuts. Look for other interesting articles on his blog, visit his website www.drawingshortcuts.com and read his new book Drawing Shortcuts Second Edition. And don’t forget to join the Land8 Group dedicated to Jim Leggitt’s drawing techniques and workshops: Drawing Shortcuts.


