


Author: Ryland Fox
Photoshop Tutorial – Vanishing Point Filter
So I came across a feature in Photoshop that I had never seen before. It is called Vanishing Point. I was new to me and I thought it might be useful to
others so I made a quick tutorial.
Vanishing Point is basically what you would expect; it allows you to move things in perspective. This can, obviously, be quite useful.
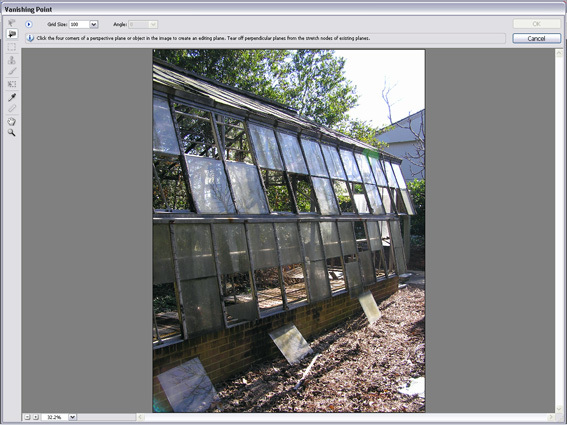
To demonstrate I am using this picture of an old greenhouse at my in-laws.
The windows have been damaged by many hurricanes over the years but it refuses to give up. Let’s see if we can fix the windows.

To enter the Vanishing Point filter press control + alt + v on a windows computer or you can just select it in the Filters drop down. When it opens you will see something like this:
The first thing to do is click four points that form a rectangle and create the plane you want to work on. In this example I want to choose the range of windows I want to fix. To make the point selection a little easier you can hold down the X key while you are doing it.
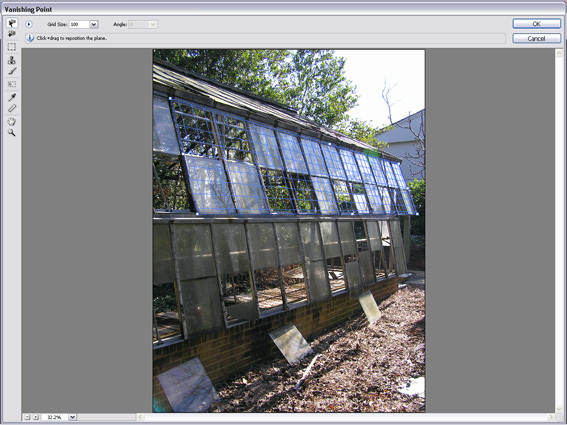
When you are done you should get something like this where the grid represents my plane. You can adjust the plane at this point with the handles, but remember if your plane is red that means Photoshop doesn’t approve of your selection and you have to keep adjusting it.
Once you have made you plane selection you need to pick what you want to replicate. To do this pick the Marquee tool (third button down on the left) and draw a selection box over one of the window panes. Like so:

Then you just need to replicate your selection wherever you want it. To do this use alt + drag with mouse. As this is happening you will see the size of the selection adjust in perspective. Interesting.

In the end you should have something like this. Granted your reflections repeat but it is just an example. A very basic one at that, the Vanishing Point tool can do a lot more, for example pasting objects into the plane (trees in a streetscape?) and dragging objects onto other perspective planes (bollards around a corner?). I can make tutorials for those too if anybody wants. Anyways, I hope that was useful.
Rendering Tutorial – Displacement Maps
Displacement maps are the third and most powerful of the common maps.
Displacement maps can use the same black and white image that was developed for the bump map but instead of shifting the image while it stays flat, the Displacement map actually generates geometry by using the map as a heightfield where white is the most displacement and black is the least.
So, instead of appearing to have depth, displacment maps actually give the texture depth.
But because they are creating geometry displacement maps are also the most computer intensive and take the longest to render.
So let’s look at our wall again.
With no maps
With just a bump map

And finally, with a Displacement map
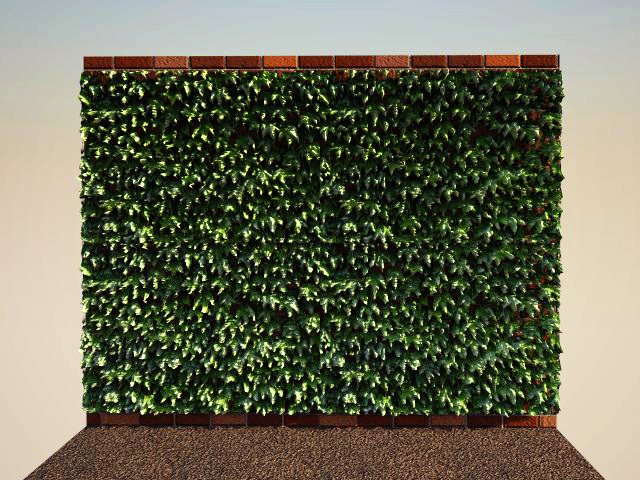
As you can see the displacement map brings the texture to life and interacts with the scene’s light source.
I have also applied a transparency map in the above render because you can use maps singularly or layer them together to get the desired effect.
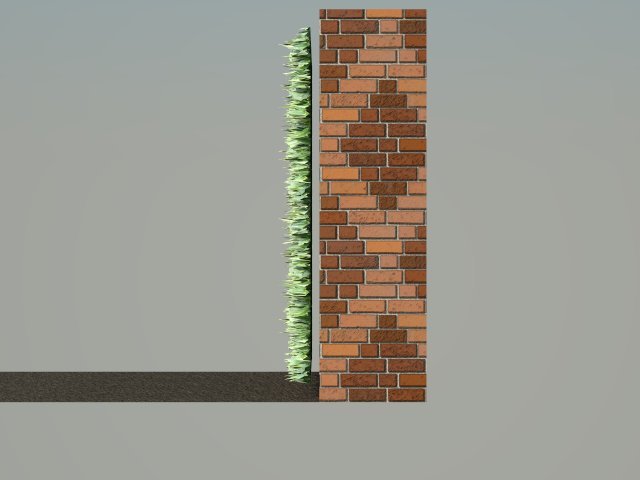
Because the displacement map is generating geometry, its profile is quite different from the bump map’s.
So, that is about it. The process should be about the same in Kerkythea or Vray for Sketchup but I haven’t looked at it so I can’t be sure.
Let me know if you have any questions.


Rendering Tutorial – Bump Maps
Bump maps are the next step in giving a texture some life.
Bump maps adjust the image but don’t actually change geometry, giving the texture the appearance of having depth.
Like transparency maps, bump maps are black and white conversions of the original texture image but probably aren’t as extreme in their conversion, and keep a lot more greys than transparency’s usually do.

In a bump map the image is adjusted based on grey scale values. White has the most adjustment while black stays flat. Shades of grey adjust accordingly.
They are applied in the Map section of the Vray Materials editor in a similar way to the transparency map.
You will probably have to attempt the bump map black and white conversion a few times before you get it right, this one isn’t perfect, it gives some glare to the pure white areas, but it will do.
As we can see, bump maps give a little bit of depth to the texture, but when viewed from the side, we can see that no geometry has been created.
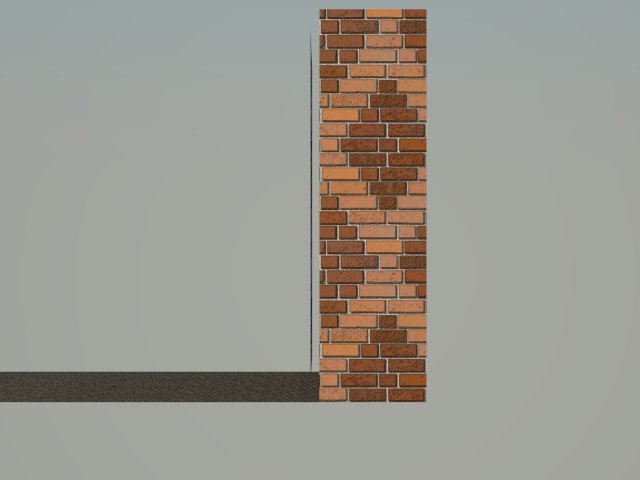
So while bump maps are good, and very useful when you have time constraints, they also have limitations.
Displacement maps are next…
Rendering Tutorial – Transparency Maps
One of the best ways to get the most out of 3D renderings is the use of maps on your textures.
A lot of times you will see renderings where the textures are and have no depth; they are basically a flat picture pasted on a wall. This is especially bad when the image is repeating and you get a pattern that runs the whole length of the object.
Pretty much every render engine lets users apply maps but I am using Vray for Rhino because of its ease of use and because Rhino great piece of software.
If you want to get some textures www.cgtextures.com is great.
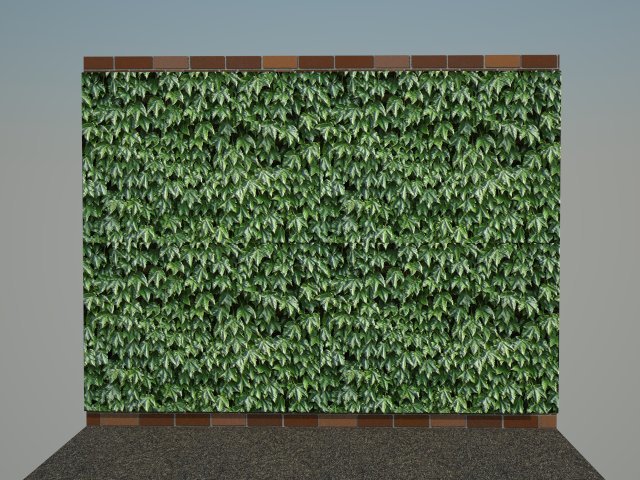
In the above shot the image of Boston Ivy is repeated four times, creating a distinct line where the images meet.
To get around this problem and give the texture image some life, render engines us maps which tell it the texture should be shaped and how it interacts with light.
There are three main types of maps to look at:
Transparency maps – set the transparency of a texture from 0% to 100% and everywhere in between.
Bump maps – adjust the texture image but don’t actively change geometry
Displacement maps – which work in a similar fashion to heightfields. They create geometry and then apply the texture to the top of it. Displacement maps give the best results but also take the longest to render.
So let’s look at these in greater detail….
Transparency maps
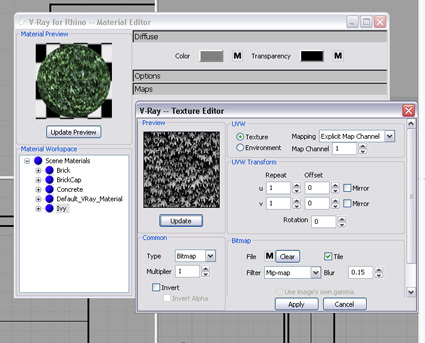
Like most maps, a transparency map is simply a black and white conversion of the texture image which is then applied to the transparency section of the material. In Vray you simply click on Transparency in the Materials pop up and choose the bitmap option and I imagine it would be similar for other render engines.
![]()
![]()
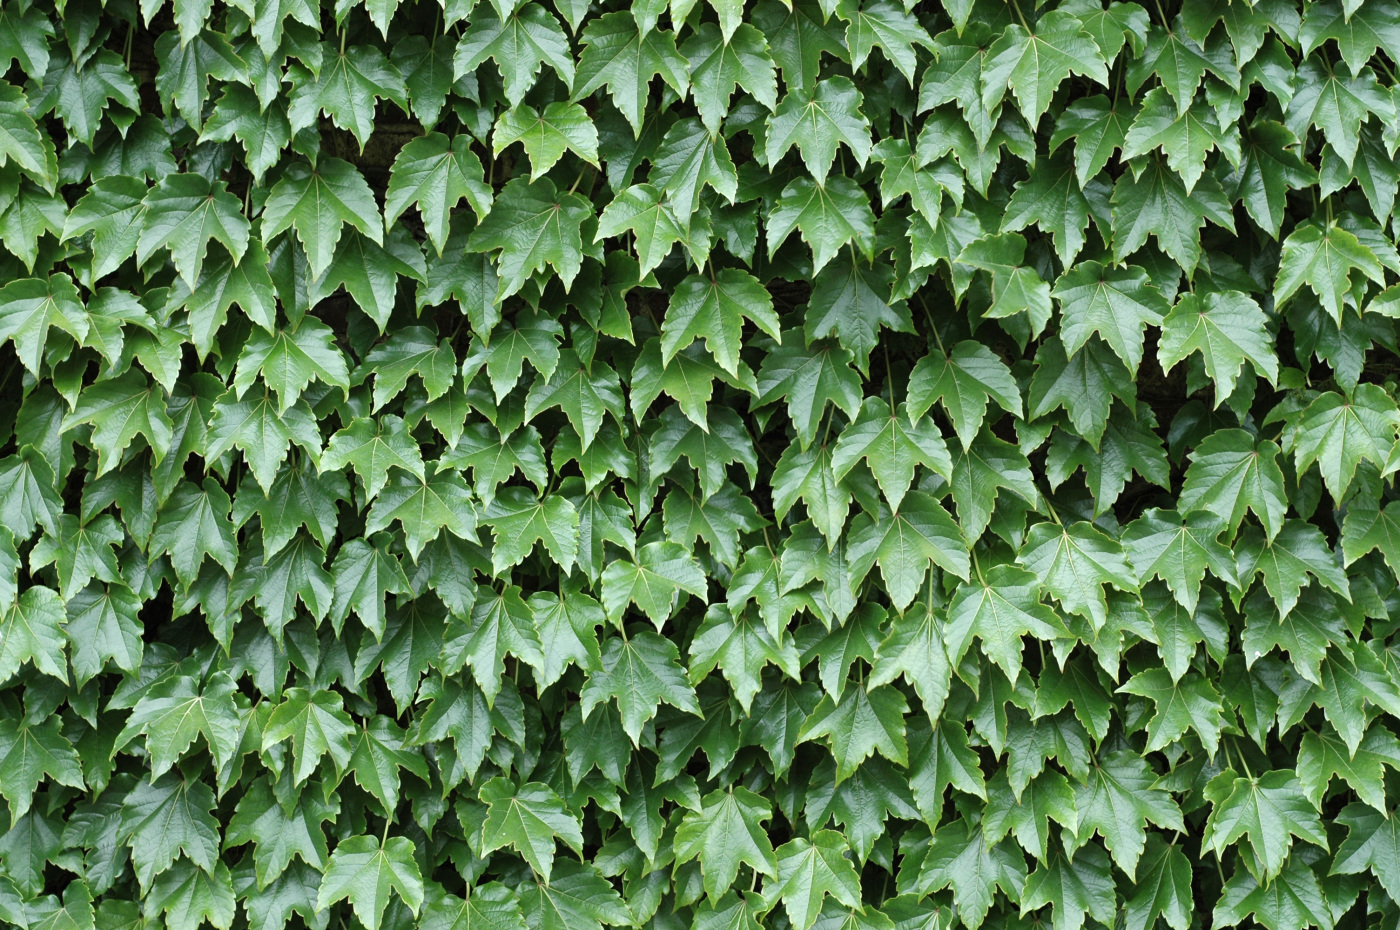
On the top is the original texture I will use on my wall while below that is the transparency map, which is a black and white conversion I made in a photo editor and tweaked until I liked it.
In a transparency map opaque areas are black and transparent areas are white. Any shade of grey in between is a percentage of transparency between 0% and 100%
In this case the transparency map makes all the front leaves opaque and allows light to get through to the object behind in the white areas.
![]()
Transparency maps are the first and fasted step to giving a texture some depth but they don’t really do much to help breaking up the repeating pattern you get from tiling a texture.
Next we will look at Bump maps.