Displacement maps are the third and most powerful of the common maps.
Displacement maps can use the same black and white image that was developed for the bump map but instead of shifting the image while it stays flat, the Displacement map actually generates geometry by using the map as a heightfield where white is the most displacement and black is the least.
So, instead of appearing to have depth, displacment maps actually give the texture depth.
But because they are creating geometry displacement maps are also the most computer intensive and take the longest to render.
So let’s look at our wall again.
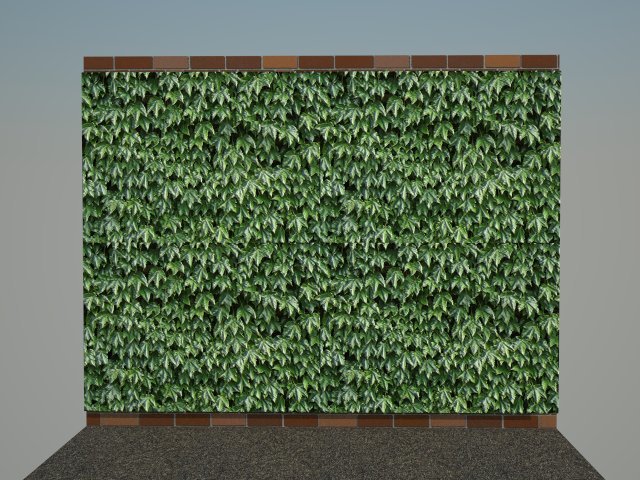
With no maps
With just a bump map
And finally, with a Displacement map
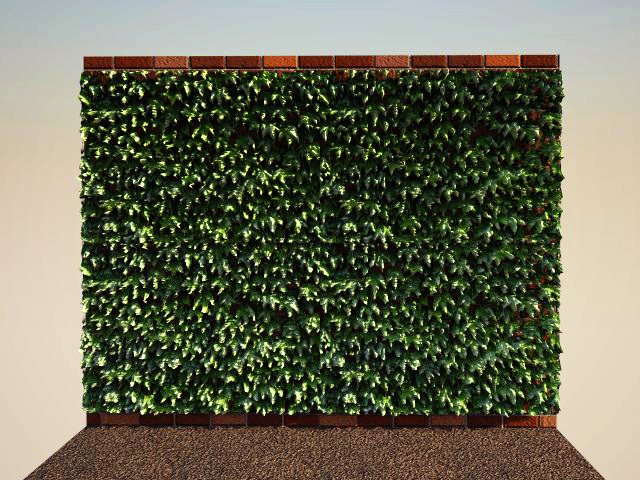
As you can see the displacement map brings the texture to life and interacts with the scene’s light source.
I have also applied a transparency map in the above render because you can use maps singularly or layer them together to get the desired effect.
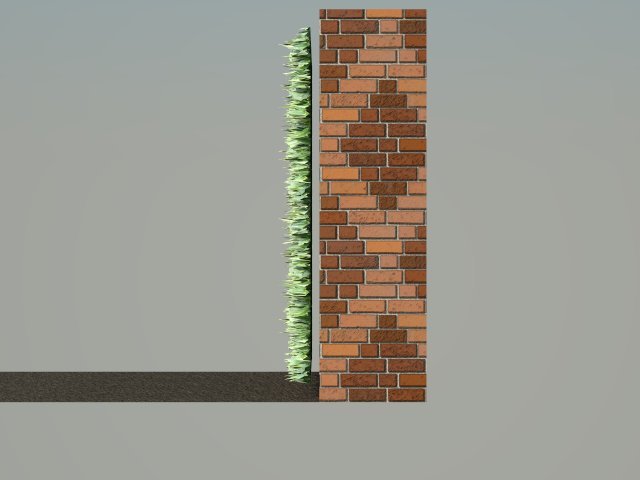
Because the displacement map is generating geometry, its profile is quite different from the bump map’s.
So, that is about it. The process should be about the same in Kerkythea or Vray for Sketchup but I haven’t looked at it so I can’t be sure.
Let me know if you have any questions.
Published in Blog