


One of the best ways to get the most out of 3D renderings is the use of maps on your textures.
A lot of times you will see renderings where the textures are and have no depth; they are basically a flat picture pasted on a wall. This is especially bad when the image is repeating and you get a pattern that runs the whole length of the object.
Pretty much every render engine lets users apply maps but I am using Vray for Rhino because of its ease of use and because Rhino great piece of software.
If you want to get some textures www.cgtextures.com is great.
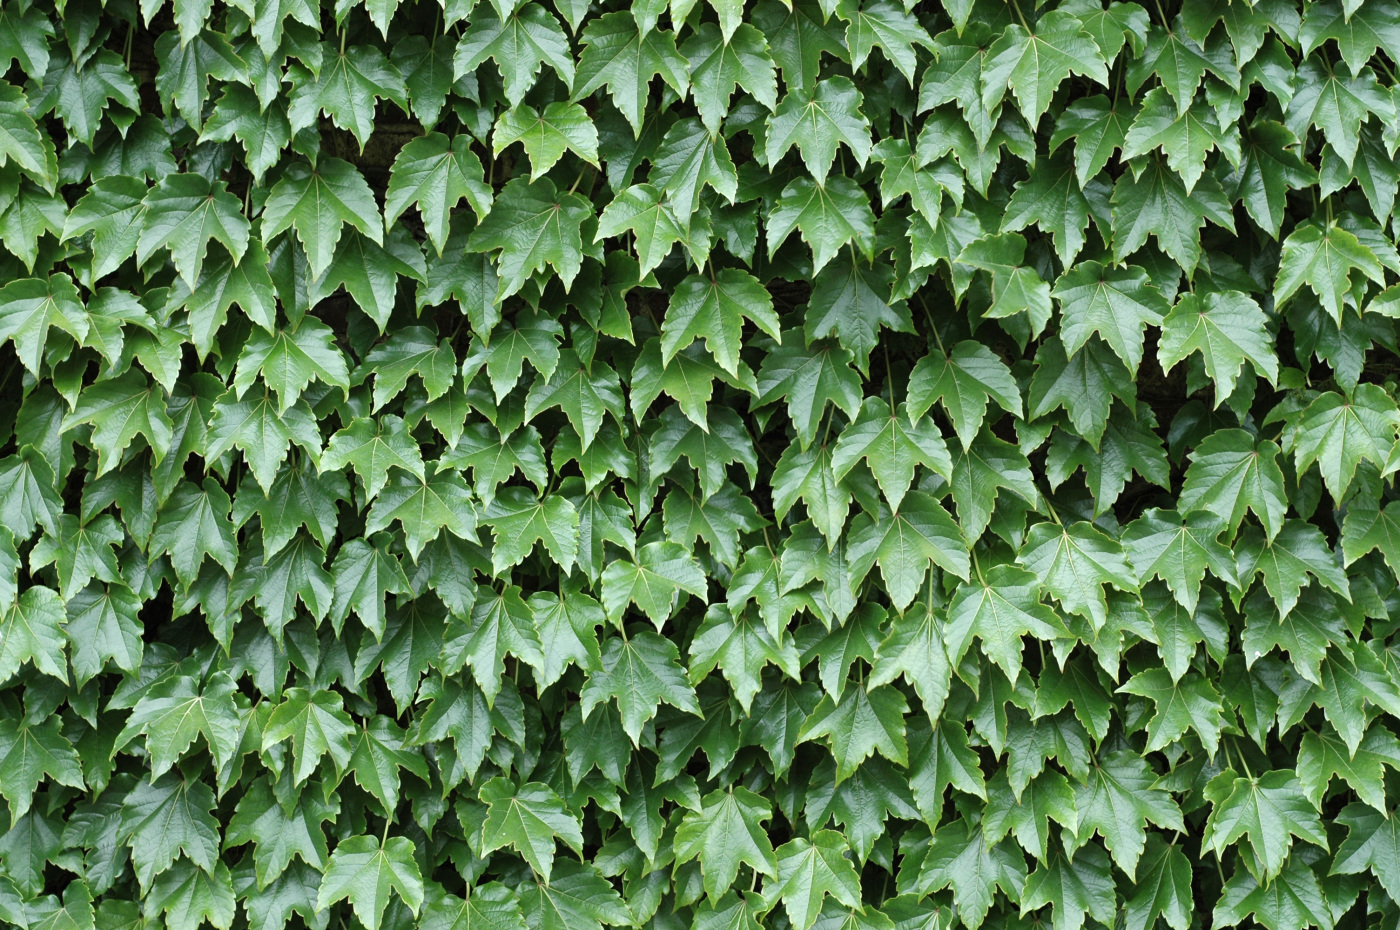
In the above shot the image of Boston Ivy is repeated four times, creating a distinct line where the images meet.
To get around this problem and give the texture image some life, render engines us maps which tell it the texture should be shaped and how it interacts with light.
There are three main types of maps to look at:
Transparency maps – set the transparency of a texture from 0% to 100% and everywhere in between.
Bump maps – adjust the texture image but don’t actively change geometry
Displacement maps – which work in a similar fashion to heightfields. They create geometry and then apply the texture to the top of it. Displacement maps give the best results but also take the longest to render.
So let’s look at these in greater detail….
Transparency maps
Like most maps, a transparency map is simply a black and white conversion of the texture image which is then applied to the transparency section of the material. In Vray you simply click on Transparency in the Materials pop up and choose the bitmap option and I imagine it would be similar for other render engines.
![]()
![]()
On the top is the original texture I will use on my wall while below that is the transparency map, which is a black and white conversion I made in a photo editor and tweaked until I liked it.
In a transparency map opaque areas are black and transparent areas are white. Any shade of grey in between is a percentage of transparency between 0% and 100%
In this case the transparency map makes all the front leaves opaque and allows light to get through to the object behind in the white areas.
![]()
Transparency maps are the first and fasted step to giving a texture some depth but they don’t really do much to help breaking up the repeating pattern you get from tiling a texture.
Next we will look at Bump maps.
Published in Blog


Fernando Reis
thanks for this post. i´m working on my 3d presentations skills and i apreciate any help in that matter.
Ryland Fox
What program and render engine are you using?
Bill Rose
great work!
Celaisha Martin
Something worth looking into