Now that you have a completed CAD base map, with all of the elevation edits needed, you have just one final step before you can Import your design into SketchUp. If you used a construction line hidden layer, turn it on, and every other layer off. Then delete all information off of the trace layer, and delete the trace layer itself. The main reason to do this is because when CAD files are imported into SketchUp, if a line exists in the same spot on two different layers, the line will be assigned to one layer, and the other will have the area blank.
As a quick software note: One of the main differences between SketchUp standard and Pro is that while CAD can be imported into either version, you can only Export non-CAD files in Pro. So if you are planning an rendering in SketchUp, or using photo editing software to tweak, either version of SketchUp will work fine. However, if you want to export into 3D Studio Max for higher end light and material rendering, you will need the Pro version.
Now its time to fire up SketchUp and get cooking.
Step 1: Importing
Once you have SketchUp running, the actual importing of the CAD file is pretty straight forward. Open the File drop down, and select Import.
Now navigate to the area where you saved the CAD file, change the file type to import to .dwg, and import your file. If you get a message about your CAD file being invalid, its possible that your CAD release is newer then your SketchUp, so just save your CAD file back to 2004 or 2000.
One of the nice, and not so nice, things about SketchUp is that it imports layer states along with the layers, so if you had all of your layers turned off when you saved your CAD file, they will all be turned off now. To turn them back on, go to the Window and select Layers.
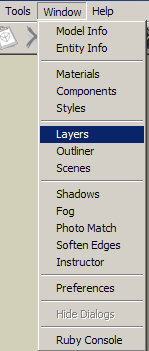
This is your layer navigator. This will be a window you want to keep open, as what ever layer has the radio button checked is the layer that what you are drawing will be on. Turn on all your layers, and then zoom to extents and select the top view, and you should see something like this:
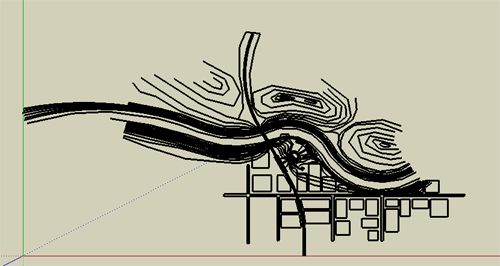
Congratulations, you now have an Imported SketchUp model, its time to save, and move on to the topography.
Note: Save early and often in SketchUp. For as fun, quick, and easy, as it is, it is buggy as all hell, and crashes fairly often, so save yourself the grief of losing 45 mins of work.
Step 2: Let the technology do the work
The first thing to do is turn off all your non-topography layers. Once you do that, Take a quick look around in your model. You should be able to get a good feel for the topography you have created, and the type of landscape you have. You may notice a few areas that you want to tweak. You should do that now. I noticed, when looking out from what would be my train station, that the two hills that flank my view are lower then I would like, and that the topo is not going to carry as far out as I would like. You can either jump into cad, fix the problems, and re-import, or add and move lines to fit your needs.
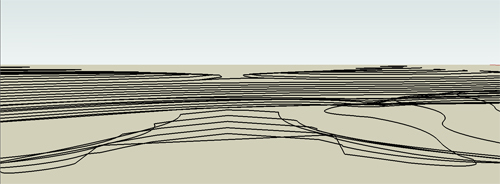
You also may notice problems like I did, where I have a hill top that is supposed to have two peaks. I made two separate contour loops as seen below (blue are the higher contours).
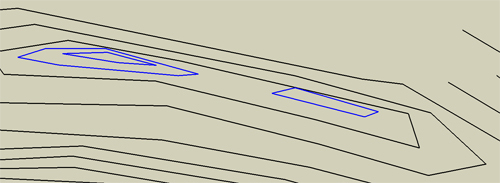
The problem is that SketchUp will simply create topo straight across between the two, as there is nothing pulling the form back down between them. This can be fixed by quickly adding a line or two that will outline where you want the low point of the pass to be.
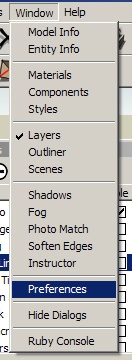
Now its time to have SketchUp do some work. First open the Window drop down, and select Preferences.
Then in the left side select “extensions”, and turn on sandbox.
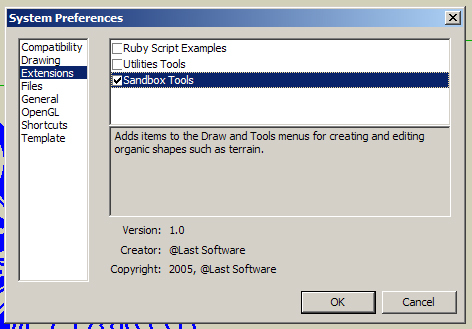
That will add the sandbox toolbar to your display. ensure that you have all layers off except topo, and that you have the topo layer selected with the radio button, and do a quick save in case the program crashes during the next step. Now click on the button on the far left of the toolbar- “From Contours”.
![]()
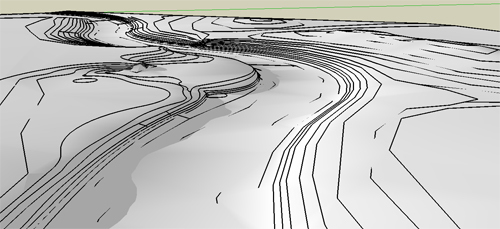
At the bottom left edge of the screen, there will be a progress bar. Depending on your processor and the size and detail of your model, it may be quick to fill, or take quite a while. If you notice the bar suddenly stop moving, don’t touch anything. SketchUp is very touchy, and its likely that your computer is using so much power to create the topo that it doesn’t have enough left to move a —->—- further to the right. I know, it sounds scary, but in SketchUp, if something starts to freeze up, don’t start clicking, just put the mouse down and go get a sandwich. If you click you may cause a crash, but if you leave it alone, you have a good chance of the computer catching up with itself and then you can save ASAP. Once its done, turn on shadows to get a little better lighting, and it should look something like this:
Step 3: That shouldn’t look like that…
Now take a close look at your model. You should be able to see all on the topo lines you drew, with a surface in between them, but you will likely see some areas that look… off. Two key things to look for are places where you see to many lines (Red), or topo lines disappear for no reason (Blue).
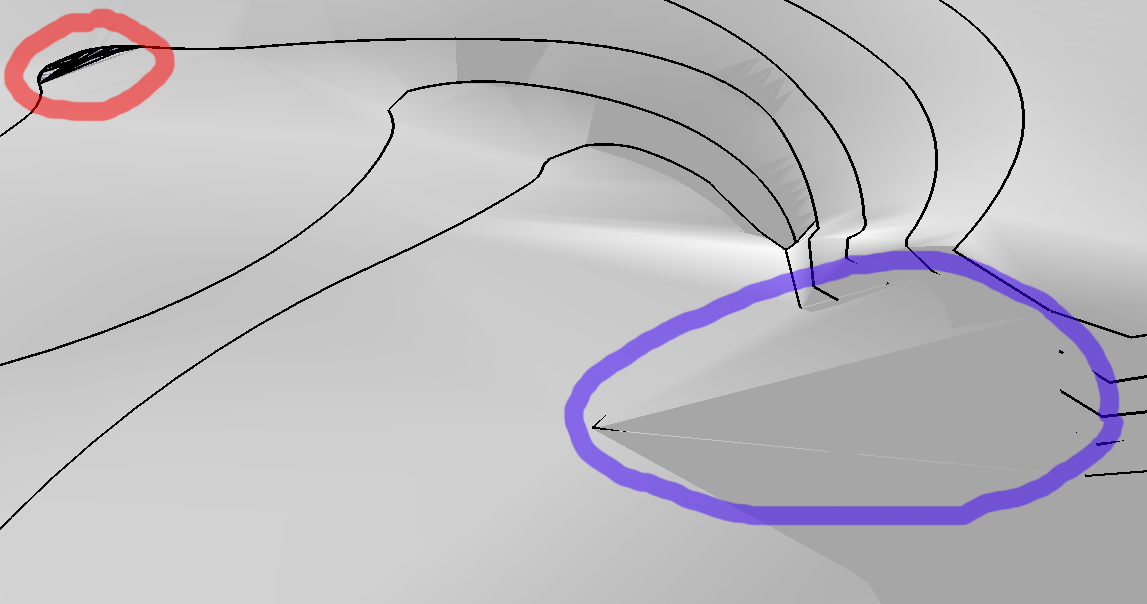
As you can see with the shadows turned on, missing lines come from an area where SketchUp arbitrarily decided to skip sections of topo lines and take a shortcut. The extra lines happen when SketchUp forgets how to draw a flat surface in a small area, so it freaks out and starts throwing lines across the area. Go to the View drop down and turn on “Hidden Geometry”. You can now see all of the polygons created by the software.
Double click the topography you created, and you’ll notice that the hidden lines now highlight when you mouse over them as you are in component editing mode. the first topo fixes you are going to do are the quick and easy ones. You might notice an area where a topo line or two are covered, like this:
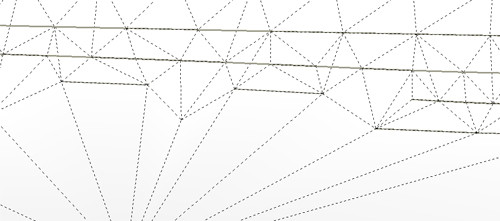
Now you are going to use the tool on the far right in the “sandbox” toolbar- “Flip Edge”. This takes a diagonal line and rotates it to the opposite diagonal. Here is an animation of flipping the lines, one by one, to correct the topography.
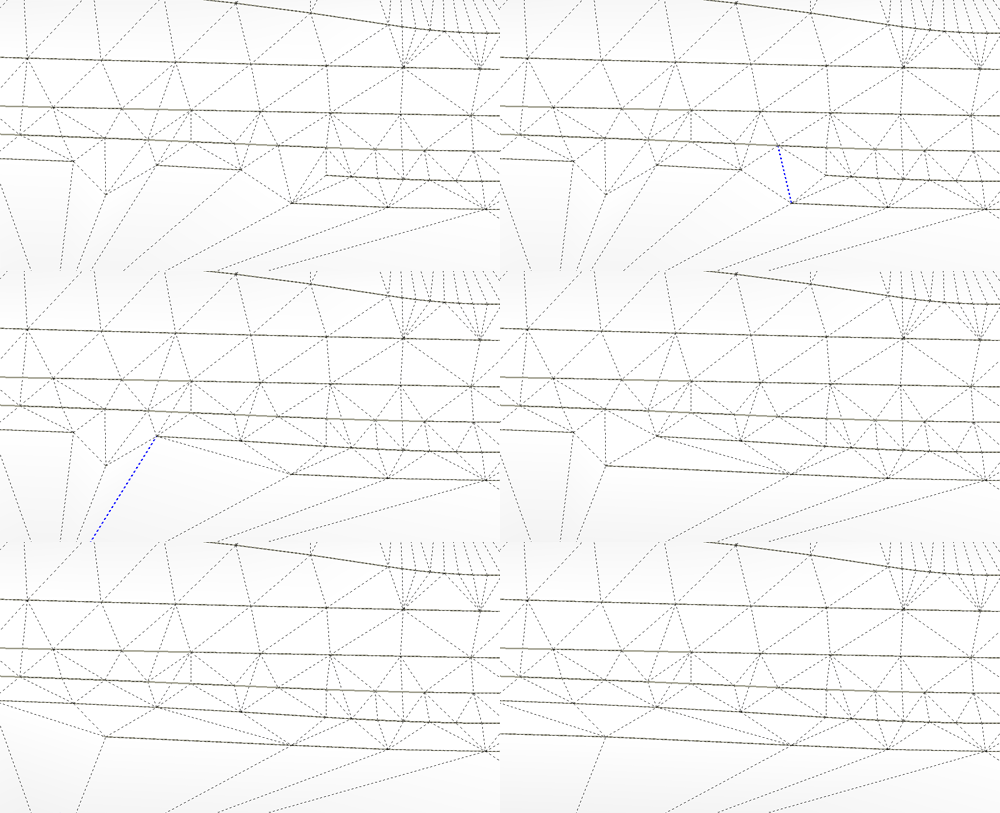
Once you go around and fix all of the areas you can using this method, you will have the more complicated work to do of manually adding and removing polygons, but that will wait for next week.
Published in Blog


