Dirt is one material that, while rarely fully exposed, is often a base material that other elements are placed over. Many times these elements will have gaps between them where there is exposed dirt, whether it be in a mulch-less planting bed, or in areas like a dense forest as we have here. You cold also combine the dirt with another layer of material, like a scattered moss or leaf-litter, to add some depth and realism. I have used this in 3D models before with good results, but in a 2D rendering it can add slightly more detail than is useful, creating a cluttered look that makes the drawing a little harder to read.
The first process for making dirt is essentially identical to how you make turf. However, the images I selected for this tutorial have some major imperfections that will allow me to show one of the powerfultools in the Photoshop box: spot heal.
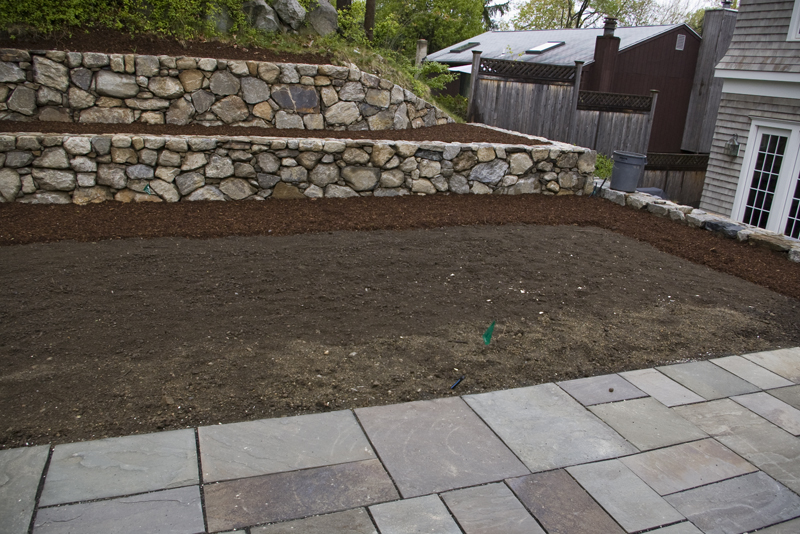
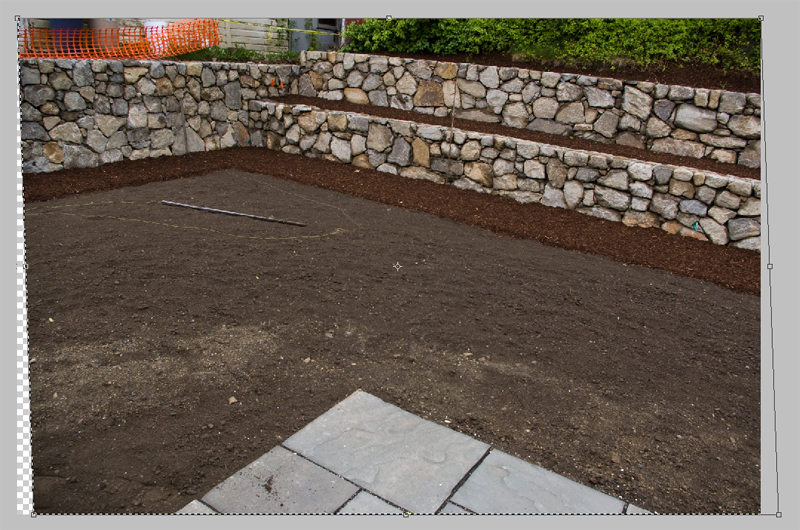
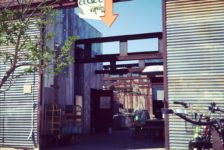
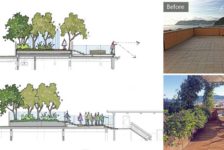
You can see here that the first image I am using, from a residential lot, has a large pipe with a string attached that sits in an area that otherwise I would want to use. I could give up, and use a different image, or only use a small section. I did not take the photos intending on using them for this purpose, and therefore only had a few, and I also was only using a small piece from my second image due to the angle and size of the bluestone patio in the image.
As I need some flexibility in size to reduce the tiled look, I opted for the slightly more challenging method of healing the pole and string out of the image. First, however, I adjusted the perspective of the image to minimize scale changes throughout the dirt.
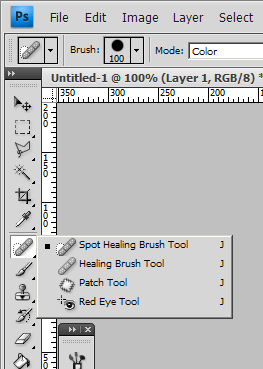
Once I did that, I was able to use my heal brush to remove the pole from the image. In an image such as this, it involves a relatively simple process. First, select the spot heal tool from the main drawing toolbar.
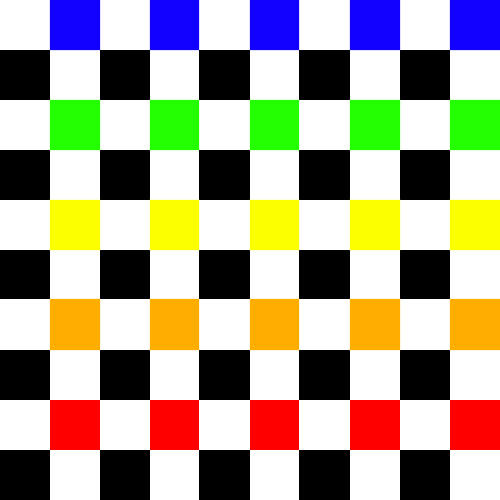
For an image such as this, its best to use the spot heal tool instead of the heal tool. Heal is better when large areas need to be covered using techniques I will cover later in the series. The spot heal tool works by essentially blurring the area. To demonstrate the basic idea, I created a colored grid.
I then used the spot heal tool on the path seen in purple:
This is the result:
So by using this tool, and painting over the pipe and string, you are able to essentially eliminate them from the drawing with very little work, and you now have a much larger area to pull your texture from.
Next you have to pull an area out to use as your pattern.
As you can see, there are some areas in the bottom of the drawing that are much lighter than the rest of the dirt, so you should again use a burn layer and around 8-9% opacity black to paint the areas darker.
This light amount of paint evens out the textures greatly, giving a pattern that will look fairly uniform on its own.
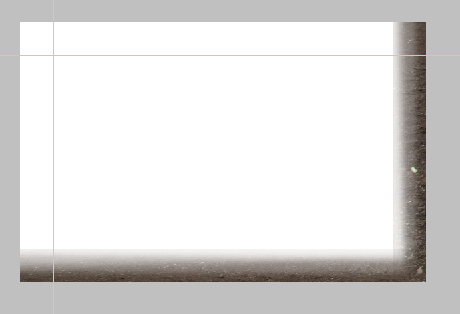
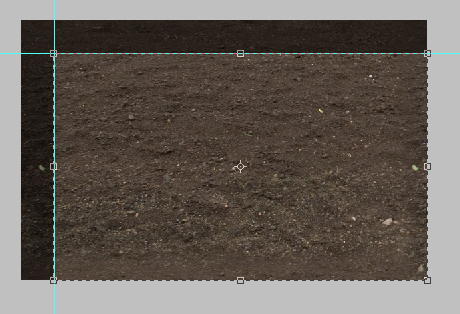
Once you have that, it’s the same method of setting up two buffer areas with guidelines, copying them, erasing them, and then cropping the image down to creating tiles without hard edges.
This material looks pretty good, but when rendered it will likely look a little to cool and dark, almost like rough asphalt. By shifting the image’s saturation, you can get an image that it warmer and a bit lighter.
I took the same steps with the second image, giving me a second, smaller texture that is equal in quality to the first.
By layering these images in the same way as I did with the turf textures, and with the same masking layer pattern, you get a seamless topsoil layer.
Next week, we will tackle the granite outcropping on the west of the site.
Published in Blog


