


Note: I realize that this is Wednesday- I worked an 8 hour shift yesterday, and then went to see Transformers 2 at midnight, so I didn’t have quite enough time to finish this off before this morning, sorry for the wait. oh, and I have to admit, I am surprised that Transformers 2 has more finishing moves then Mortal Kombat…
One of the things needed for a lot of renderings, whether it is for pools, lakes, streams, wetlands, or swales, is water. You by all means could get a more hand-rendered look by just selecting the area to be water, pick a color like R:52 G:90 B:187, put a wide, soft brush at say 20% opacity, paint over much of the water, then paint over the outer edges, leaving more and more of the middle alone, until you get the look you want. However, I’m going to show you the base I use to make my water, which in turn is used to make my wetlands, and things of that ilk. When making water, I’ve found that one of the best ways to create a realistic look is to use a semi-transparent photo of water. Some tweaks are needed based on what type of water it is, but the photo adds that little bit of randomness that is difficult to replicate, but that adds a lot of realism.
Step 1: Water, Water Everywhere
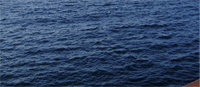
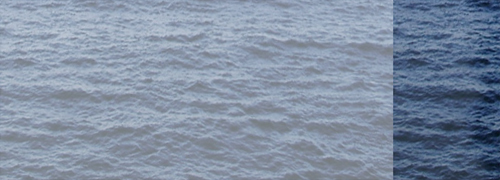
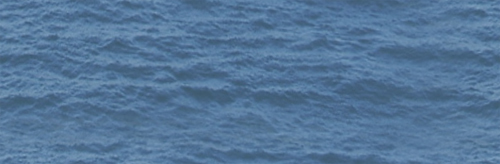
The first thing I did is found an image of ocean water that has some decent contrast, and fairly regular lighting. For this tutorial I am using http://images.zagbot.com/europe/pics/Tromso-skjervoy-goodbye-artic-ocean.jpg which is an image I found on google. The first step is to reduce some of the vertical compression caused by the fact that the picture is not taken from directly above. I did this by selecting all, then going to Edit>Transform>Warp. I pulled the top of the picture up, and then pulled the middle section up as well, tweaking the “arms” that come off of each corner point to keep the overall image square.
Step 2: Line it up
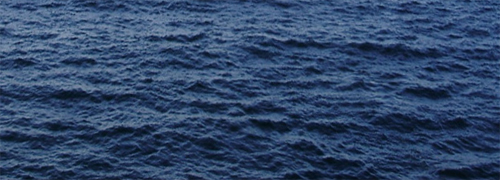
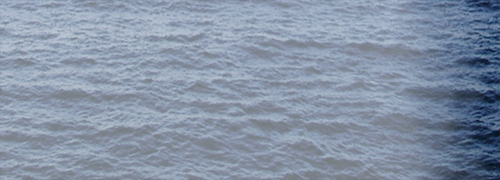
I rotated the image 6.3 degrees to the right (to get the waves to run horizontally) then trimmed it down so I have an image of just water, with fairly level lighting (When this gets tiled as a pattern in larger bodies of water, it will help reduce the tiles’ visibility.)
Step 3: Repeat the Pattern
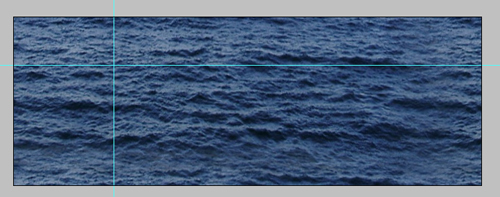
The next thing you have to do is to make the pattern repeatable without it looking tiled. The first thing is to put guidelines about 1/4 of the way across, and down, the image:
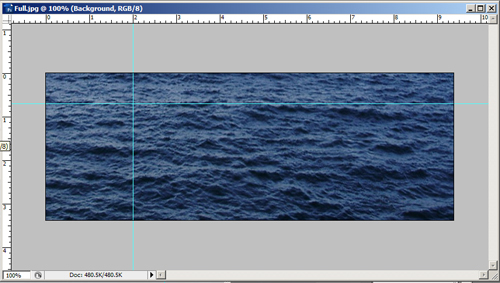
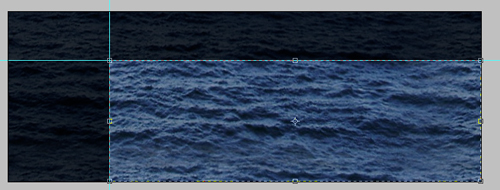
Next you take the area to the left of the guideline and copy it to the right side of the image as a second layer (I made the base layer semi-transparent for the next few steps to make things easier to see):
Step 4: Blur the Edges
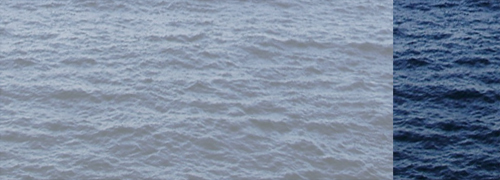
Next, use the eraser tool, with a wide, soft brush (I’m using a 45 width round brush with o% hardness), and with its opacity set to 25%. Erase most of the repeated section- keep an area along the boarder untouched, and create a rough edge- anystraight lines will show up when you tile the image. You may want to dim the base layer like I did, as it does make it easier to see what kind of a fade you are getting on your water.
Now repeat that until the new layer slowly fades away:
Once you do this, un-fade the base layer, and merge the two layers together. Then repeat the same process with the section on top so you end up with this:
Step 5: Cut It Down To Size
Now you want to crop the image to just the lower right quadrant. This will leave you with a piece that perfectly tiles without a hard edge.
Step 6: Color and Soften
The image as it is will be a little to harsh looking on the rest of the rendering, and the image you have may not be quite the color you want it to be. To combat this I add a new layer, and paint it solid with: R: 120 G: 165: B: 200. I then desaturate the layer to 50%, and merge the two layers together. The color and opacity will have to be tweaked based on the base image used, but I like a slightly desaturated blue overall:
Step 7: Make it a Pattern
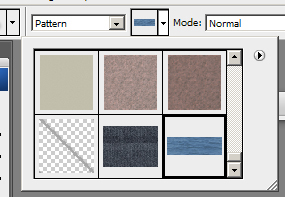
Select all (Ctrl+A), then go to Edit>Define Pattern, and give your water a clever name, like “water”. It will then appear at the bottom of your list of patterns- pick the paint bucket, and in the toolbar where it says “foreground”, click and select pattern. Then click on the image to the right, scroll down, and pick your water texture. Congratulations, you have water.
Step 8: Put It to Good Use
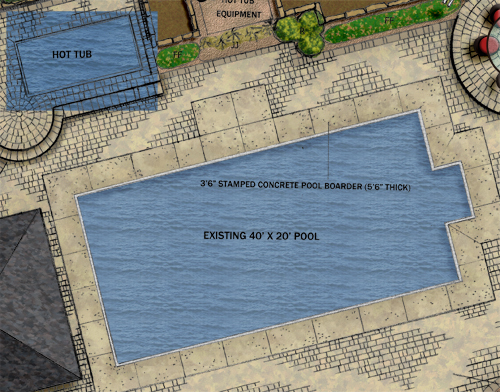
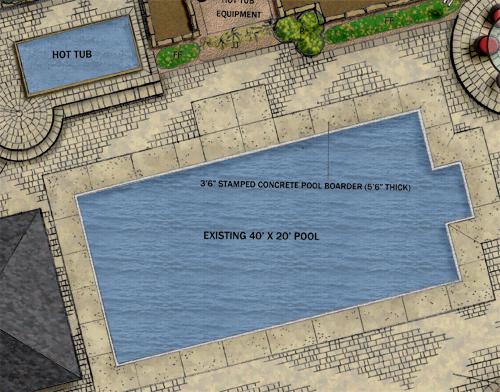
Now you just have to use the water you just made. The most basic use would be for something like a pool, or maybe a hot tub. The first step is to create the image of an empty pool, with shadows, tiles, and everything else that you would see with an empty pool.
![]()
Step 9: Fill the Pool
To fill the pool you made, add a new layer, select the area that the water will be in, and fill it with the water pattern. The real nice touch is when you then cut the layer’s opacity to around 80%.

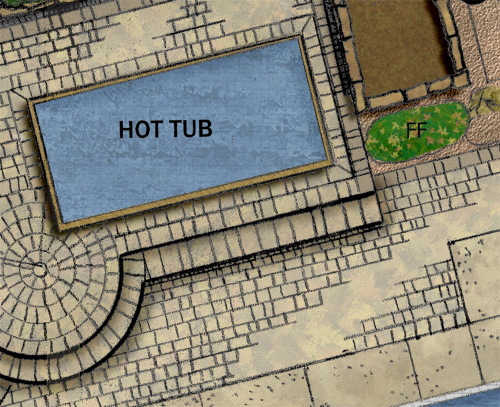
Step 10: Hot Tub Time
To fill a hot tub, make a new layer, then select an area larger then the pool by 20% or so, and fill it is the water pattern.
Step 10: Turn on the Bubbles
Since hot tubs are generally bubbly places, it looks best to add some “bubbles” to the water. You can do this by first going to Filter>Distort>Ripple. I picked a Large Ripple at 200% (This step is why you add the extra water- the ripple distortion moves the edges of the form, so you need some buffer space). Then I went to Filter>Distort>Ocean Ripple and used a size of 15 and a magnitude of 10. This gets you a much more active looking hot tub. Now delete the parts of the water that you don’t need (outside the hot tub). You then change the opacity to 80% just like with the pool, and your done!
That is how you do basic water. In upcoming tutorials I’ll talk about wetlands and streams, which use this as a base layer that you do quite a bit of tweaking and painting over the top of.


Clayton Munson
Is there a certain image sizes that should be used? either resolution or dimensions?
Frank Varro
image size is up to your discretion, based on the image you found to use. The bigger the image is, the less repeating, and therefore the less risk of a tiled look to your image. However you also want it to be detailed enough to not look strange- 5 foot thick waves might be a little out of scale for a kiddy-pool. A lot of it comes down to trial and error- find a picture you like, find a good area, and see how it looks scale wise. If it looks good, then go through and do all the front end work to make it look better.